DTF for DIY T-Shirts offers a modern, approachable path to custom apparel at home. If you want vibrant designs without a full screen printing setup, this guide covers practical techniques and setup considerations. Designed for beginners, it presents clear concepts and a practical path. You’ll learn a simple, repeatable process to avoid common misprints. This concise overview helps you start crafting professional shirts.
From another angle, Direct-to-Film (DTF) printing is a film-to-fabric process that empowers home-based creators to print multi-color designs with a soft hand. For DTF at home projects, practitioners focus on steady workflows, clean room setup, and repeatable steps that minimize waste. If you’re documenting your journey, think of it as a DIY T-shirt printing guide in practical terms, with clear milestones from setup to finished shirt. LSI-friendly terms such as heat-press transfers, white underprint, and multi-color layering echo the same concept in different words, helping your content answer related questions. A practical outline for beginners can map design adaptation, film printing, powder adhesion, curing, and the final transfer—often described as DTF workflow steps. Together, these phrases build a richer understanding of DTF without overwhelming new printers.
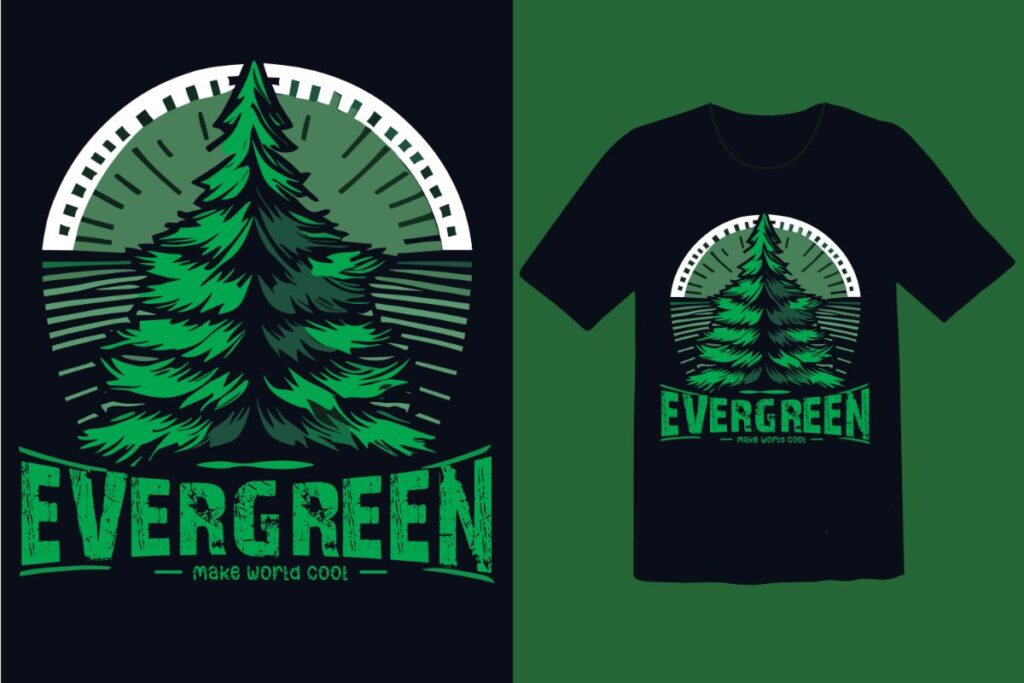
DTF for DIY T-Shirts: A Beginner-Friendly Path to Custom Apparel
DTF for DIY T-Shirts represents a modern, approachable method for creating customized apparel at home. This path leverages Direct-to-Film technology to print vibrant, multi-color designs with a soft hand feel, making it an attractive option for hobbyists and aspiring small-batch producers alike. By starting with a home-friendly setup, you can explore the basics of DTF transfer without needing a full-scale screen printing shop. This makes it ideal for experimentation and gradual growth in your at-home workflow.
As you embark on DIY T-shirt projects, you’ll discover that DTF transfer offers strong color fidelity and durability. The process supports complex artwork and gradients, which can be especially appealing for beginners who want professional results without the steep learning curve of traditional screen printing. This section sets the stage for building confidence in your designs and understanding how DTF at home can become a reliable, creative outlet.
DTF at Home: Setting Up a Simple, Effective DIY Studio
Setting up a practical DTF at home studio starts with selecting user-friendly components: DTF film and transfer sheets, a printer capable of handling appropriate inks (including white underprint), adhesive powder, a curing setup, and a reliable heat press. A clean, organized workspace with protective sheets and non-stick surfaces helps you maintain consistent results. You don’t need industrial-grade equipment to begin; a thoughtfully assembled at-home workflow can deliver repeatable outcomes.
Safety and workflow considerations are essential when operating a home studio. Allocate a dedicated space with good ventilation, keep powders contained, and establish a simple routine for printing, curing, and pressing. With a focus on DTF printing for beginners, you’ll appreciate how a compact, well-planned setup reduces misprints, speeds up testing, and builds confidence as you produce your first DIY T-shirt designs.
DTF Printing for Beginners: Core Concepts and Friendly Workflow
DTF printing for beginners centers on the Direct-to-Film approach: print your design onto a special film, apply and cure an adhesive powder, then transfer the image to fabric with heat and pressure. This describes the basic DTF transfer process in a way that’s accessible to newcomers, highlighting how the workflow can yield vivid colors and clean edges on a variety of fabrics.
A beginner-friendly focus also emphasizes practical design considerations, color management, and material compatibility. By starting with straightforward artwork and gradually testing on cotton, blends, and even some synthetics, you’ll learn how to balance ink density, white underprint, and film settings. This grounded approach supports a steady learning curve while you explore the possibilities of DIY T-shirt printing.
Mastering the DTF Workflow Steps: From Design to Durable Finish
The DTF workflow steps form a clear path from concept to finished garment. Begin with preparing your design, then print on DTF film, apply and cure adhesive powder, pre-press the garment, transfer with heat and pressure, and finally peel and cure the finish. Each step contributes to color accuracy, edge sharpness, and durability, ensuring your designs stand up to washing and wear.
Understanding the sequence helps you diagnose issues and optimize results. Color management, proper white underprint on dark fabrics, and material testing are all part of refining your method. By following a consistent set of DTF workflow steps, you’ll build reliability and speed, making the process more enjoyable and efficient as you scale your DIY projects.
Choosing the Right Materials: Films, Inks, Powders, and Garments for DTF
Selecting the right materials is crucial for successful DTF results. Look for high-quality DTF film and transfer sheets designed to hold ink and accept the adhesive, a printer capable of handling the required inks (including white ink for light-on-dark designs), and reliable adhesive powder with a proper curing mechanism. The choice of heat press settings and protective layers also plays a big role in achieving consistent finishes.
Fabric compatibility and test prints help you understand how different garments respond to heat and adhesive. Start with 100% cotton or cotton blends, then gradually explore polyesters and blends to observe performance differences. By choosing materials thoughtfully, you’ll minimize misprints and build confidence in your at-home DTF projects while keeping costs manageable.
DIY T-Shirt Printing Guide: Practical Tips, Troubleshooting, and Best Practices
This DIY T-shirt printing guide offers practical tips to plan your designs, select garments, and manage expectations for color and size. Keeping a printing journal of settings, fabrics, and outcomes becomes your personal reference, speeding up future projects and helping you refine your at-home workflow. Practicing on inexpensive tees allows you to iterate without risking expensive materials.
Common challenges, such as misalignment, color mismatch, or edges peeling, can be addressed with systematic troubleshooting. Focus on garment pre-press, consistent temperature and pressure, and careful powder application to improve hand feel and durability. Emphasize safety and equipment maintenance, and you’ll develop a reliable, enjoyable process for DIY T-shirt printing that aligns with the DIY T-shirt printing guide ethos.
Frequently Asked Questions
What is DTF for DIY T-Shirts and why is it beginner-friendly?
DTF stands for Direct-to-Film printing, and it’s a practical option for DIY T-shirt projects. In the DTF for DIY T-Shirts workflow, you print onto a special film, apply an adhesive powder, cure it, and transfer the image to fabric with heat. This method delivers vibrant color, smooth edges, and durable bonds, and since you don’t need screens for every color, DTF printing for beginners is approachable and flexible for many fabrics.
What basic equipment do I need for DTF at home to start a DIY T-shirt printing guide?
To begin with DTF at home, you don’t need industrial gear. Essentials include a compatible printer (or a standard inkjet with white underprint support), DTF film and transfer sheets, white ink capability, adhesive powder and a curing setup, a heat press or equivalent, plus protection like non-stick sheets and gloves. With these, you can build a simple at-home DTF transfer workflow and start experimenting as described in this DIY T-shirt printing guide.
What are the essential DTF workflow steps for DIY T-shirt projects?
Here are the core DTF workflow steps for DIY T-shirt projects: 1) Prepare your design; 2) Print the design on DTF film; 3) Apply adhesive powder and cure; 4) Prepare the garment with a pre-press; 5) Transfer to fabric with heat and pressure; 6) Peel and finish; 7) Cure and care for the finished garment. Following these DTF workflow steps helps beginners achieve consistent results.
How should I choose fabrics and manage color when doing DTF transfer on DIY T-shirts?
When selecting fabrics for a DTF transfer, start with cotton or cotton blends for predictability. Use printer color profiles and run small tests to manage color accuracy; apply a white underprint for dark fabrics to maintain brightness. DTF transfer works on many fabrics, but results vary, so begin with mid-range materials and expand as you gain experience—this is a practical DIY T-shirt printing guide approach.
What common challenges do beginners face with DTF printing and how can I troubleshoot?
Common issues include misalignment, color mismatch, peeling, and a stiff hand feel. For DTF printing for beginners, troubleshoot by using a stable platen and alignment guides, recalibrating color profiles and white underprint settings, ensuring proper pre-press and consistent heat/time, and verifying powder coverage and curing. Keeping notes in a printing journal helps you refine your DIY workflow.
How does DTF at home compare to other printing methods for hobbyists and small runs?
DTF at home offers rich color and the ability to run small batches without creating screens, making it a strong option for hobbyists and small businesses. Compared with traditional screen printing, DTF reduces setup time and supports intricate, multi-color designs—but it requires investment in a heat press, films, and inks and a learning curve. Overall, DTF at home provides a balanced DIY T-shirt printing approach with professional-looking results.
| Topic | Key Points | Notes |
|---|---|---|
| Introduction |
|
Sets context for the guide and highlights at-home DTF potential. |
| What is DTF and why it works for beginners |
|
Defines the technique and its beginner-friendly benefits. |
| Components of a beginner-friendly setup |
|
Outlines essential items for a home DTF workflow. |
| Step-by-Step DTF Workflow (Beginner-friendly) |
|
Provides a practical, ordered process from design to finished product. |
| DTF workflow considerations for beginners |
|
Guides prudent decisions to optimize results and costs. |
| Common challenges and troubleshooting tips |
|
Offers quick fixes to improve reliability and outcomes. |
| DTF at home vs. other printing methods |
|
Contextualizes where DTF sits among printing options. |
| DIY success tips |
|
Helps build consistency and safety in at-home projects. |
Summary
Conclusion: DTF for DIY T-Shirts empowers hobbyists and small-scale creators to craft high-quality, multi-color designs with relatively straightforward equipment and workflows. By understanding the basics of DTF transfer, building a beginner-friendly at-home workflow, and following a structured step-by-step process, you can produce durable, vibrant t-shirts that stand up to regular wear and washing. As you gain experience, you’ll refine color choices, improve alignment accuracy, and develop a more efficient routine—turning DIY T-shirt printing into both a satisfying hobby and a potential side hustle. Keep experimenting, document what works, and enjoy the creative process of bringing your designs to life using DTF at home.